
lil rod court documents pdf free
The court documents involving Rodney “Lil Rod” Jones provide detailed insights into the legal allegations against Sean Combs‚ including sexual assault and trafficking claims‚ offering a critical understanding of the case’s legal and personal implications․

Overview of the Case
The case involving Rodney “Lil Rod” Jones and Sean Combs revolves around allegations of sexual assault‚ trafficking‚ and professional exploitation․ Filed as a civil action with a jury demand‚ the lawsuit details Jones’ claims of misconduct by Combs and other defendants․ The court documents outline a timeline of events‚ evidence submitted‚ and legal arguments presented by both sides․ This high-profile case has garnered significant media attention due to the involvement of prominent figures in the entertainment industry․ The documents provide a comprehensive view of the allegations‚ legal strategies‚ and potential implications for all parties involved․
Importance of Accessing Court Documents
Accessing court documents in the Lil Rod case is crucial for understanding the legal allegations‚ evidence‚ and arguments presented․ These documents provide transparency into the judicial process‚ allowing the public to assess the credibility of claims and counterclaims․ For researchers‚ legal professionals‚ and the general public‚ accessing these records offers insights into the case’s legal strategies and potential implications․ Additionally‚ it enables individuals to stay informed about high-profile cases involving public figures‚ fostering accountability and public awareness․ Free access to these documents ensures that justice is visible and accessible to all parties involved․

Background of Rodney “Lil Rod” Jones
Rodney “Lil Rod” Jones‚ born and raised in Chicago‚ Illinois‚ is a producer with a complex history‚ including legal challenges and professional endeavors in the music industry․
Early Life and Career
Rodney “Lil Rod” Jones‚ born in Chicago‚ Illinois‚ developed a passion for music early in life․ His career as a producer began in the city’s vibrant music scene‚ where he gained recognition for his contributions to various projects․ Jones’ work eventually led him to collaborate with prominent figures in the entertainment industry‚ including Sean Combs and Bad Boy Entertainment․ His professional journey highlights his dedication to music production‚ which played a significant role in shaping his career before the legal allegations arose․
Legal History and Previous Cases
Rodney “Lil Rod” Jones has had prior legal encounters before the current case against Sean Combs․ In 2013‚ he pleaded nolo contendere to charges‚ including being a felon in possession of ammunition․ This case highlights his earlier brushes with the law․ The current allegations against Sean Combs‚ including sexual assault and trafficking‚ mark a significant escalation in his legal troubles․ Jones’ legal history underscores the complexity of his current case‚ which seeks $30 million in damages․ His past legal issues provide context to his credibility and the seriousness of the current allegations․

Allegations Against Sean Combs
The allegations against Sean Combs include sexual assault‚ trafficking‚ and professional exploitation‚ as detailed in court documents․ Rodney “Lil Rod” Jones seeks $30 million in damages‚ claiming Combs drugged and coerced him into unwanted acts‚ with evidence submitted to support these serious accusations․ If proven‚ this could result in significant financial penalties and reputational damage for Combs․
Sexual Assault and Trafficking Claims
Rodney “Lil Rod” Jones alleges Sean Combs subjected him to sexual assault and trafficking‚ claiming he was drugged and coerced into unwanted acts․ The court documents detail these allegations‚ asserting Combs exploited Jones for sexual purposes and engaged in trafficking activities․ Jones seeks $30 million in damages‚ emphasizing the severe emotional and psychological harm caused․ These claims are central to the case‚ with evidence‚ including photos‚ submitted to support the allegations․ If proven‚ such charges could lead to significant legal consequences for Combs‚ highlighting the gravity of the accusations․
Professional Exploitation Allegations
Rodney “Lil Rod” Jones also alleges professional exploitation by Sean Combs‚ claiming he was forced into unfair contracts and subjected to financial manipulation․ Court documents suggest Jones was pressured to work under conditions that favored Combs’ business interests‚ with little to no fair compensation․ These allegations highlight a pattern of abuse of power‚ where Combs allegedly used his influence to exploit Jones’ professional contributions․ The claims underscore the manipulative dynamics in their working relationship‚ further complicating the legal and ethical implications of the case․
Key Points from the Court Documents
The court documents detail allegations of sexual assault‚ trafficking‚ and professional exploitation‚ supported by evidence including witness testimonies and photographic proof submitted by Rodney “Lil Rod” Jones․
Details of the Complaint Filed
Rodney “Lil Rod” Jones filed a civil complaint against Sean Combs‚ alleging sexual assault‚ trafficking‚ and professional exploitation․ The complaint outlines specific incidents‚ including coerced sexual acts and threats․ Jones claims Combs exploited his position of power to manipulate and control him․ The filing also references photographic evidence and witness testimonies to support the allegations․ The legal documents detail the emotional and financial damages sought‚ totaling $30 million․ This case highlights serious accusations against a high-profile figure‚ raising questions about accountability and justice in the entertainment industry․
Evidence Presented in the Case
The complaint includes photographic evidence‚ witness testimonies‚ and communication records to support the allegations against Sean Combs․ Jones submitted images documenting alleged illicit activities and coercion; Witness statements corroborate claims of exploitation and abuse․ Additionally‚ the court documents reference specific incidents‚ including dates and locations‚ to build a timeline of events․ The evidence aims to establish a pattern of behavior by Combs‚ reinforcing Jones’s allegations of sexual assault and trafficking․ These materials are central to the case‚ providing a foundation for the legal arguments presented in the court filings․
Legal Implications of the Case
The case could result in significant financial penalties for Sean Combs and damage his public image‚ affecting his career and business ventures․
Potential Financial Penalties
The case against Sean Combs could result in significant financial penalties‚ with Rodney “Lil Rod” Jones seeking $30 million in damages․ If the court rules in favor of the plaintiff‚ Combs may face substantial monetary losses․ These penalties could arise from claims of sexual assault‚ trafficking‚ and professional exploitation․ Additionally‚ legal fees and potential settlements may further strain Combs’ financial resources․ The outcome of the case will determine the extent of these penalties‚ making it a critical factor in the legal battle․ The financial implications could also impact Combs’ business ventures and public image indefinitely․
Impact on Public Image and Reputation
The allegations against Sean Combs have sparked widespread media attention‚ potentially damaging his public image and reputation․ As a high-profile figure‚ Combs’ personal and professional brand could suffer irreversible harm․ Public scrutiny and negative media coverage may lead to a loss of endorsements‚ business partnerships‚ and fan support․ The severity of the claims‚ including sexual assault and trafficking‚ could permanently tarnish his legacy in the entertainment industry․ Additionally‚ the court documents being publicly accessible as free PDFs ensure that the details of the case remain widely available‚ further amplifying the reputational risks for Combs․
How to Access Lil Rod Court Documents for Free
Access Lil Rod court documents for free through online legal platforms․ Search for case number 24-1457 and download the PDF files at no cost․
Online Platforms for Legal Documents
Several online platforms provide access to legal documents‚ including court filings and case records․ Websites like CourtListener and PACER offer free or low-cost access to court documents․ Additionally‚ platforms such as Scribd and Document Cloud host legal documents‚ including those related to high-profile cases like Rodney “Lil Rod” Jones v․ Sean Combs․ Users can search for case numbers‚ such as 24-1457‚ to locate and download PDF versions of the court documents․ These platforms ensure public access to legal information‚ promoting transparency and accountability in the judicial process․
Guidelines for Downloading PDF Files
To access Lil Rod court documents‚ visit reputable platforms like PACER or CourtListener․ Create an account‚ search for case number 24-1457‚ and locate the PDF files; Ensure your device has a PDF reader installed․ Download the document by selecting the “Download” or “Print” option․ Verify the file’s integrity by checking timestamps and court seals․ Be cautious of third-party sites to avoid malware․ For free access‚ explore platforms offering public records or legal document repositories․ Always follow the platform’s specific guidelines for downloading and saving files securely․
The Lil Rod court documents highlight the case’s legal implications and potential outcomes‚ sparking public debate and media scrutiny․ Future rulings may significantly impact all parties involved․
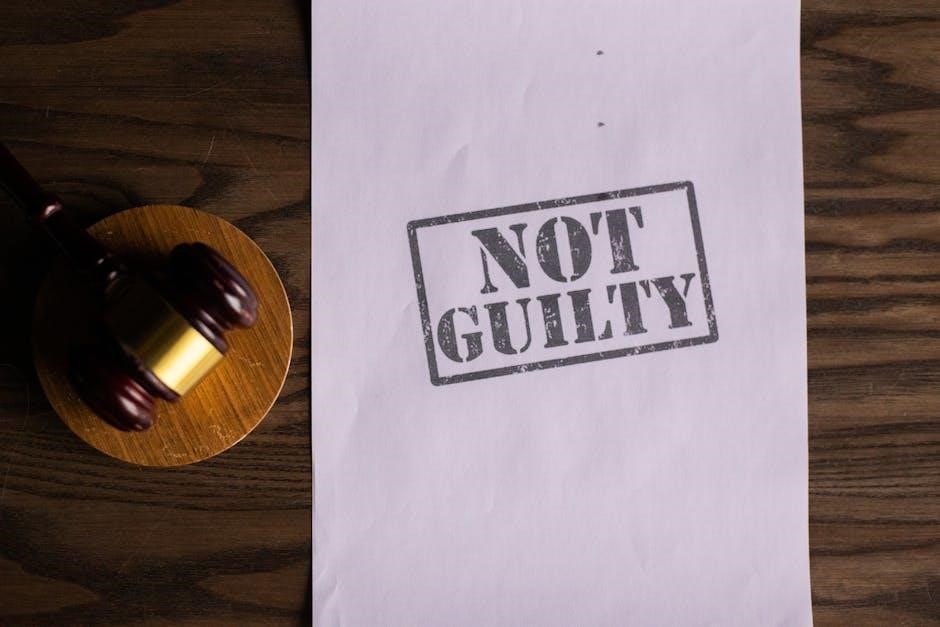
Possible Outcomes of the Case
The case against Sean Combs could result in significant financial penalties or settlements if allegations are proven․ A ruling in favor of Lil Rod may lead to substantial damages‚ while a dismissal could clear Combs’ name․ The court’s decision may also set legal precedents for similar cases involving sexual assault and trafficking claims․ Public reaction and media coverage will likely intensify as the verdict approaches‚ shaping perceptions of all parties involved․ The outcome could also influence future legal strategies for victims of alleged abuse in the entertainment industry‚ emphasizing the importance of accountability and transparency in high-profile cases․
Public Reaction and Media Coverage
The case has sparked significant public interest‚ with many following developments through accessible court documents․ Media outlets have extensively covered the allegations‚ highlighting the severity of the claims against Sean Combs․ The availability of PDF files online has allowed the public to engage directly with the legal details‚ fostering widespread discussion․ Public sentiment remains divided‚ with some expressing support for Lil Rod and others questioning the credibility of the allegations․ The high-profile nature of the case ensures continuous media scrutiny‚ as updates and rulings are eagerly anticipated by both supporters and critics alike․